Step-by-Step DIY Home Renovation Tips: Your Complete Guide
Renovating your home is a journey that transforms your living space and significantly enhances the value and comfort of your property. For first-time homeowners, embarking on a DIY Renovation Project Guide can be both exciting and intimidating. With careful planning, the right tools, and a clear understanding of the process, you can turn your renovation dreams into reality.
Step 1: Planning Your Renovation
Setting Clear Goals
The foundation of any successful renovation project is a clear understanding of your objectives. Ask yourself what you want to achieve with your renovation. Are you looking to modernize the aesthetics, increase the functionality of your space, or boost the overall value of your home? Clearly defined goals will guide your decisions throughout the project, ensuring that every choice you make aligns with your desired outcome.
Creating a Realistic Budget
Budgeting is a critical aspect of any renovation project. It’s essential to have a realistic understanding of what you can afford and to allocate your funds wisely. Begin by researching the costs associated with the materials, tools, and labor needed for your renovation.
Break down your budget into categories such as:
- Materials: Includes costs for flooring, paint, cabinetry, fixtures, and appliances.
- Tools: Depending on your current inventory, you may need to invest in new tools to complete the renovation.
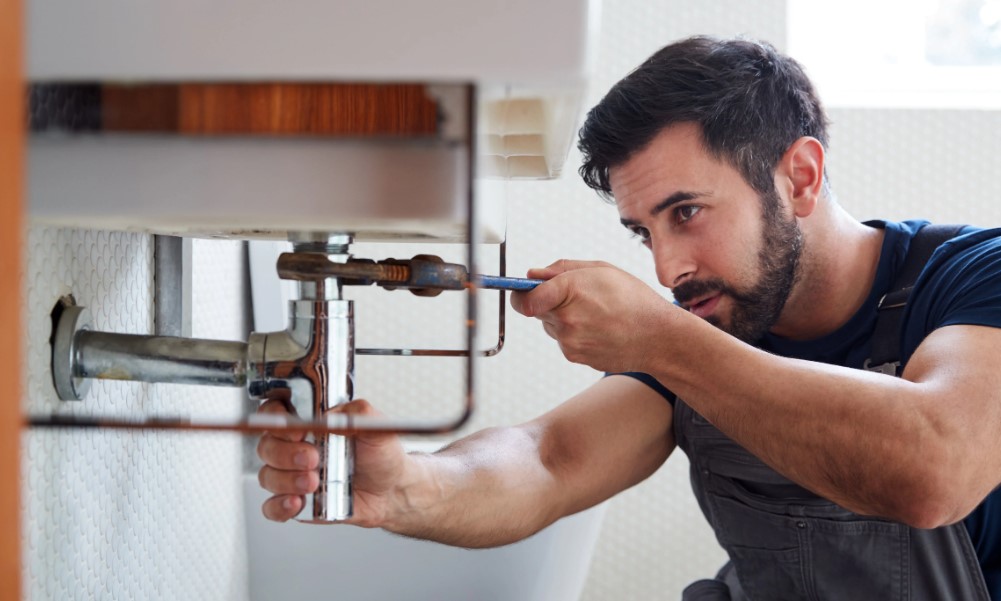
- Labor: Even for a DIY project, consider if there are aspects of the renovation that may require professional assistance (e.g., electrical or plumbing work).
- Permits: Ensure you account for any permits required by local regulations.
By carefully planning your budget, you can avoid overspending and ensure that your renovation project remains financially manageable.
Designing Your Space
Designing your space involves more than just choosing paint colors and furniture. It’s about creating a cohesive vision that aligns with your goals and reflects your personal style. Whether you’re renovating a single room or an entire home, take the time to plan the layout, select materials, and choose color schemes that will bring your vision to life.
Obtaining Necessary Permits
Before starting any renovation work, it’s crucial to check with your local government to determine whether permits are required for your project. Permits are often necessary for structural changes, electrical and plumbing work, and other significant modifications.
Step 2: Preparing Your Home for Renovation
Clearing the Space
Once you have your plan in place, the next step is to prepare your home for the renovation. Start by clearing out the area where the renovation will take place. This may involve moving furniture, removing decor, and emptying cabinets or closets.
Protecting Your Home
Renovations can be messy, with dust, debris, and potential spills posing risks to your floors, walls, and fixtures. Protecting your home during the renovation is essential to avoid unnecessary damage. Use drop cloths or plastic sheeting to cover floors, countertops, and furniture.
Gathering Essential Tools and Materials
Having the right tools and materials on hand is key to a successful DIY renovation. Here are some essential products that will make your renovation smoother and more efficient:
1. DEWALT 20V MAX Cordless Drill
- Website: DEWALT 20V MAX Cordless Drill
- Features: High-performance motor, 2-speed transmission, compact design.
- Pros: This drill is versatile, powerful, and user-friendly, making it ideal for a wide range of tasks from drilling holes to driving screws.
- Cons: The battery life may be insufficient for large, extended projects, so consider having a spare battery on hand.
- Price: Approximately $150.
2. BLACK+DECKER 4V MAX Cordless Screwdriver
- Website: BLACK+DECKER 4V MAX Cordless Screwdriver
- Features: Compact, lightweight design, integrated LED light, ergonomic handle.
- Pros: Perfect for light-duty tasks, this cordless screwdriver is easy to use and ideal for assembling furniture or tightening screws in tight spaces.
- Cons: It lacks the power needed for heavy-duty tasks, so it’s best suited for smaller jobs.
- Price: Approximately $20.
3. 3M Safety Glasses
- Website: 3M Safety Glasses
- Features: Scratch-resistant lenses, lightweight construction, UV protection.
- Pros: Essential for protecting your eyes from dust, debris, and potential projectiles during demolition and construction tasks.
- Cons: They may fog up during prolonged use, so consider an anti-fogging solution.
- Price: Approximately $10.
4. KILZ Premium Interior/Exterior Primer
- Website: KILZ Premium Interior/Exterior Primer
- Features: High-hide formula, excellent adhesion, mildew-resistant finish.
- Pros: This primer is perfect for covering stains and preparing surfaces for paint, ensuring a smooth and even finish.
- Cons: Adequate ventilation is required during application due to strong fumes.
- Price: Approximately $25 per gallon.
5. RYOBI 18V ONE+ AirStrike Cordless Brad Nailer
- Website: RYOBI 18V ONE+ AirStrike Cordless Brad Nailer
- Features: Cordless convenience, adjustable depth control, tool-free jam release.
- Pros: Eliminates the need for air compressors and hoses, making it easier to maneuver and perfect for installing trim, baseboards, and other finishing touches.
- Cons: Slightly heavier than pneumatic nailers, which may cause fatigue during extended use.
- Price: Approximately $150.
Step 3: Executing the Renovation

Demolition: Safely Breaking Down the Old
Demolition is often the first physical step in a renovation, and it’s where the transformation begins. Whether you’re removing old cabinetry, tearing down walls, or pulling up flooring, demolition requires careful planning and safety precautions.
Before starting, ensure that all utilities (electricity, gas, water) are turned off in the area you’re working. Wear protective gear, including safety glasses, gloves, and a dust mask, to protect yourself from debris and hazardous materials.
Framing and Drywall: Shaping Your Space
If your renovation involves altering the layout of a room, you’ll need to frame new walls and install drywall. This step is critical in defining the structure and flow of your space. Use a tape measure and level to ensure accurate measurements and straight lines when framing. Secure the studs with a nail gun or screws, making sure everything is plumb and square.
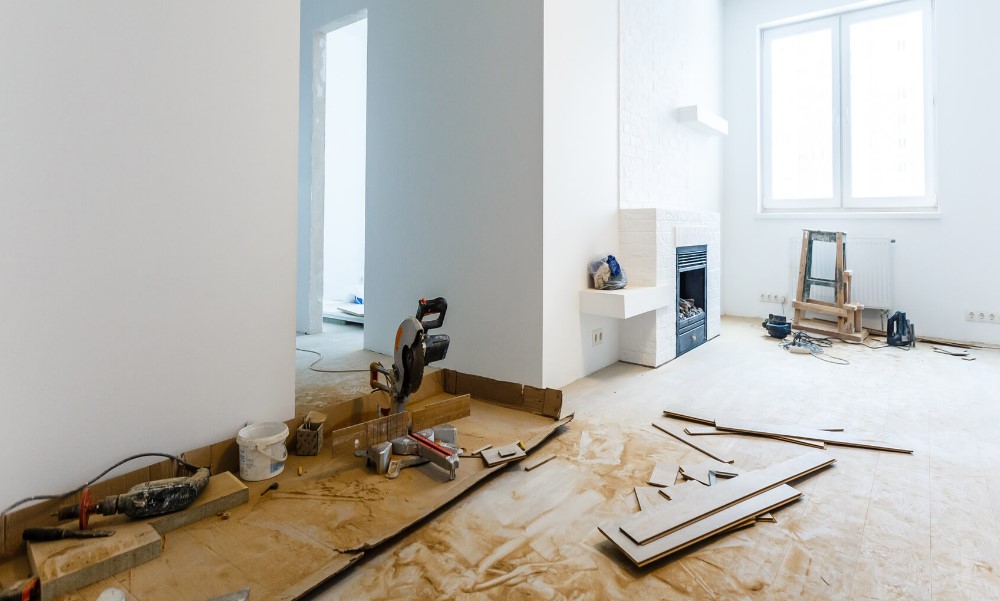
Flooring: Laying the Foundation
Installing new flooring is a significant part of any renovation and can dramatically change the look and feel of a room. Whether you’re laying hardwood, tile, or laminate, follow these general steps:
- Prepare the Subfloor: Ensure the subfloor is clean, dry, and level. Remove any old flooring materials, nails, or staples, and repair any damage to the subfloor.
- Install the Underlayment: If required, lay an underlayment to provide a smooth surface for the new flooring and to reduce noise.
- Lay the Flooring: Start at the longest wall and work your way across the room. Use spacers to maintain consistent gaps between the flooring pieces and the walls, allowing for expansion. For tile, use tile spacers to ensure even grout lines.
- Cut and Fit: Use a saw to cut the flooring to fit around corners, doors, and other obstacles. Be precise in your measurements to avoid gaps or uneven edges.
- Finish: Once the flooring is installed, remove the spacers and install baseboards or trim to cover the expansion gaps.
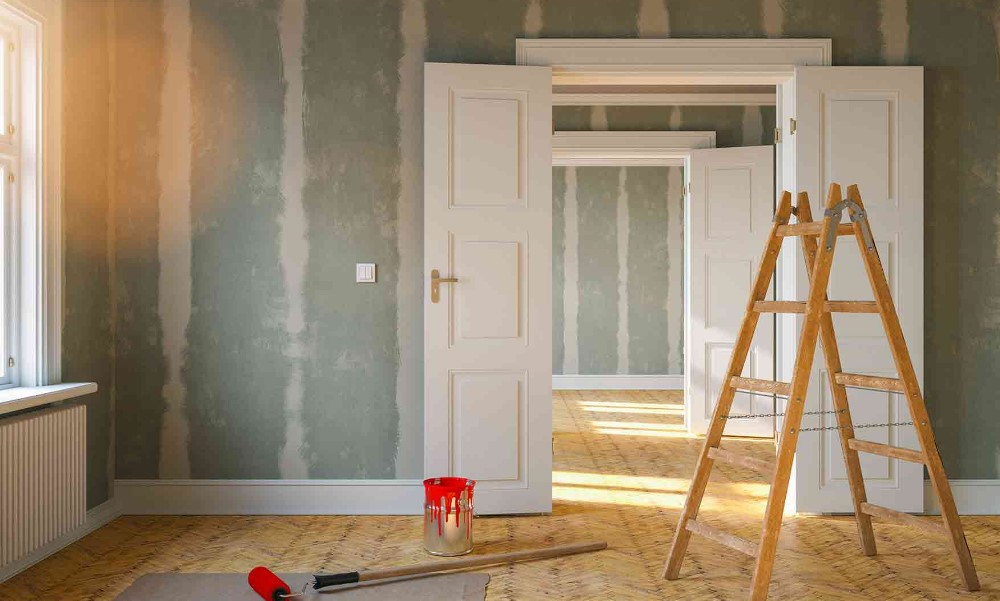
Painting: Adding Color and Personality
Painting is one of the most rewarding parts of a renovation because it instantly changes the ambiance of a room. Start by priming the walls with a high-quality primer like KILZ Premium Interior/Exterior Primer to ensure the paint adheres well and the final color is true to your vision.
When choosing paint, consider the finish as well as the color. For high-traffic areas like kitchens and bathrooms, a satin or semi-gloss finish is ideal because it’s durable and easy to clean. For living rooms and bedrooms, a matte or eggshell finish provides a softer look.
Step 4: Finishing Touches
Installing Fixtures: The Details Matter
Fixtures are the final touches that complete your renovation. This includes installing light fixtures, faucets, door handles, and cabinet hardware. Ensure that all fixtures are securely installed and properly aligned to create a polished, professional look.
Adding Trim: A Polished Look
Trim work, including baseboards, crown molding, and window casings, adds a finished look to your renovation. Use a miter saw to make precise cuts and a nail gun to attach the trim securely.
Decorating: Personalizing Your Space
Once all the hard work is done, it’s time to add the final decorative touches. Choose decor items that reflect your style and tie the room together. Consider using area rugs, artwork, and curtains to add color and texture to the space.
Comparison Table: Essential DIY Renovation Tools
| Product | Use Case | Pros | Cons | Price |
|---|---|---|---|---|
| DEWALT 20V MAX Cordless Drill | Drilling, fastening | Versatile, powerful, easy to use | Battery life may be short for large projects | $150 |
| BLACK+DECKER 4V MAX Cordless Screwdriver | Light-duty tasks | Compact, ergonomic, affordable | Limited power for heavy-duty tasks | $20 |
| 3M Safety Glasses | Eye protection | Scratch-resistant, lightweight | May fog up during prolonged use | $10 |
| KILZ Premium Interior/Exterior Primer | Surface preparation | High-hide, mildew-resistant, excellent adhesion | Requires ventilation during use | $25/gallon |
| RYOBI 18V ONE+ AirStrike Brad Nailer | Nailing, fastening | Cordless, adjustable depth control | Heavier than pneumatic nailers | $150 |
Where to Buy and How to Buy
These essential tools and materials for your DIY renovation can be purchased from various reliable retailers, both online and in-store. Here are some recommended options:
- Home Depot: Home Depot offers a comprehensive selection of tools, materials, and other renovation supplies. You can shop online or visit one of their many locations nationwide.
- Amazon: Amazon provides a convenient online shopping experience with a wide range of products available. Take advantage of fast shipping and customer reviews to make informed purchasing decisions.
- Lowe’s: Lowe’s is another excellent option for purchasing tools and materials for your DIY project. They offer competitive prices and a variety of brands to choose from.
When purchasing online, be sure to compare prices, read reviews, and look for discounts or promotions that can help you save money. Additionally, many retailers offer in-store pickup options, which can save you on shipping costs and time.
Detailed Use Case: Solving Problems with the Right Tools
Using the right tools is critical to the success of your DIY renovation. Let’s explore how some of the tools mentioned above can solve common problems and make your renovation smoother:
- DEWALT 20V MAX Cordless Drill: Ideal for tasks like drilling holes and fastening screws, this drill is versatile enough to handle various stages of your renovation, from framing walls to installing fixtures. Its cordless design provides flexibility, allowing you to work in different areas without being tethered to an outlet.
- RYOBI 18V ONE+ AirStrike Cordless Brad Nailer: Installing trim and baseboards can be tedious, but this cordless brad nailer simplifies the process by eliminating the need for a compressor. It’s perfect for adding those final finishing touches to your renovation, ensuring that everything is securely in place.
These tools not only make your renovation easier but also help you achieve professional-quality results, even if you’re a first-time DIYer. Investing in reliable tools like these ensures that your renovation is completed efficiently and to a high standard.
FAQs
1. What is the most important step in planning a DIY renovation?
The most important step is setting clear goals for your renovation. Knowing what you want to achieve will guide your decisions and help ensure the project stays on track.
2. How can I save money on my DIY renovation?
To save money, create a detailed budget, prioritize your spending on high-impact areas, and consider doing as much of the work yourself as possible. Shopping during sales and looking for discounts on materials and tools can also help reduce costs.
3. Do I need a permit for my DIY renovation?
Permit requirements vary depending on the scope of your renovation and local regulations. It’s essential to check with your local building department to determine whether permits are necessary.
4. What are the best tools for a DIY renovation?
Some essential tools include a cordless drill, screwdriver, safety glasses, primer, and a brad nailer. These tools are versatile and can handle a wide range of tasks during your renovation.
5. How do I choose the right paint for my renovation?
Choose paint based on the room’s use. For high-traffic areas like kitchens and bathrooms, opt for durable, easy-to-clean finishes like satin or semi-gloss. For bedrooms and living areas, a matte or eggshell finish offers a softer look.